Showing posts with label Windows. Show all posts

Friday, July 11, 2025

How to troubleshoot problems updating Windows?

Windows Update is an essential component of Windows 10, ensuring your system remains secure, stable, and up-to-date with the latest features. However, issues can occasionally arise, preventing updates from installing. This guide provides detailed steps to troubleshoot and resolve Windows Update problems effectively.

Run the Windows Update troubleshooter

If you are using a Windows 10 device, start by running the automated Windows Update troubleshooter in the Get Help app. It will automatically run diagnostics and attempt to fix most of the problems. If you are using an older version of Windows or a mobile device, please skip to General troubleshooting steps.

Run the troubleshooter in Get Help

If the troubleshooter in Get Help app is unable to resolve your issue, select your specific problem from the Most common Windows Update problems section below and follow the provided steps.

Please try the following general troubleshooting steps to help solve the Windows update problem.

Step 1. Run the Windows Update troubleshooter
  • Select Start > Settings > Update & Security.
  • From the left-hand menu, select Troubleshoot, then click on Additional troubleshooters.
  • Under the Get up and running section and select Windows Update and click Run the troubleshooter.
  • Follow the on-screen instructions to complete the process.
 
Step 2: Verify that your device is properly plugged in and connected to the Internet

Make sure that your device is properly plugged into a power source and connected to the internet. A stable internet connection is crucial for downloading and installing updates. Follow these steps to ensure connectivity:
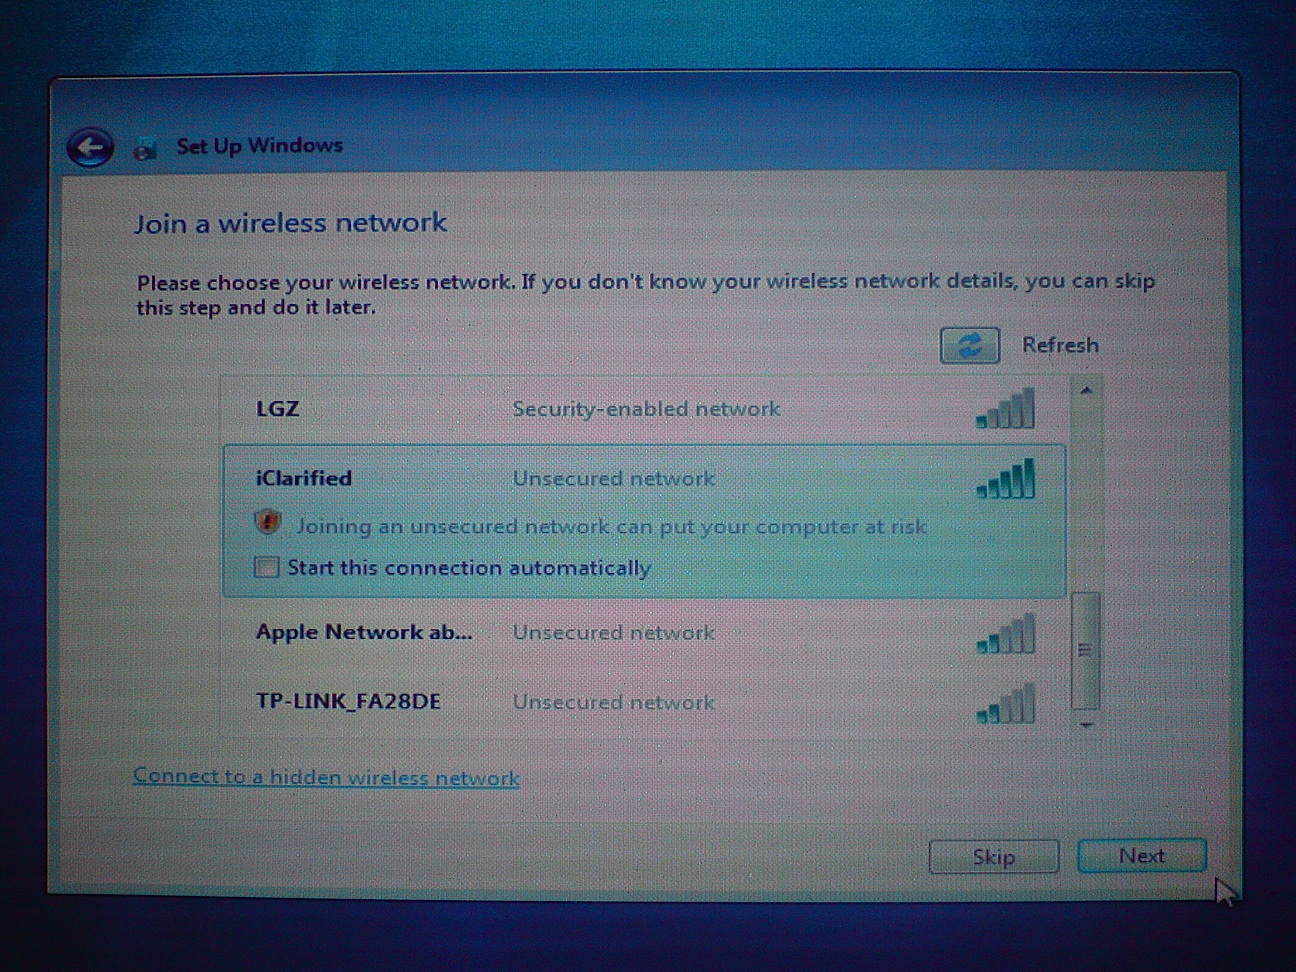
  • Select Start > Settings > Network & Internet > Wi-Fi.
  • Verify your network status. If disconnected, reconnect to your Wi-Fi or Ethernet network.
 
Step 3. Make sure you have Administrator access

Some updates require administrator access. If your account doesn't have administrator access, see how to Create a local user or administrator account in Windows. Or if someone else at home or in your office has an administrator account on your device, try asking them to install the updates.

Step 4. Disconnect external hardware

Remove any external storage devices and drives, docks, and other hardware plugged into your device that aren't needed for basic functionality. Then try to run updates again and see if this resolved your issue. If it didn't, continue to the next tip.

Step 5. Clear the Windows Update Cache

Corrupt update files in the cache can cause errors. Clear the cache by following these steps:

  • Press Win + R, type services.msc, and press Enter.
  • Locate the Windows Update service, right-click it, and select Stop.
  • Navigate to C:\Windows\SoftwareDistribution.
  • Delete all files and folders inside this directory.
  • Go back to the Services window, right-click Windows Update, and select Start.

Step 6. Verify Date and Time settings

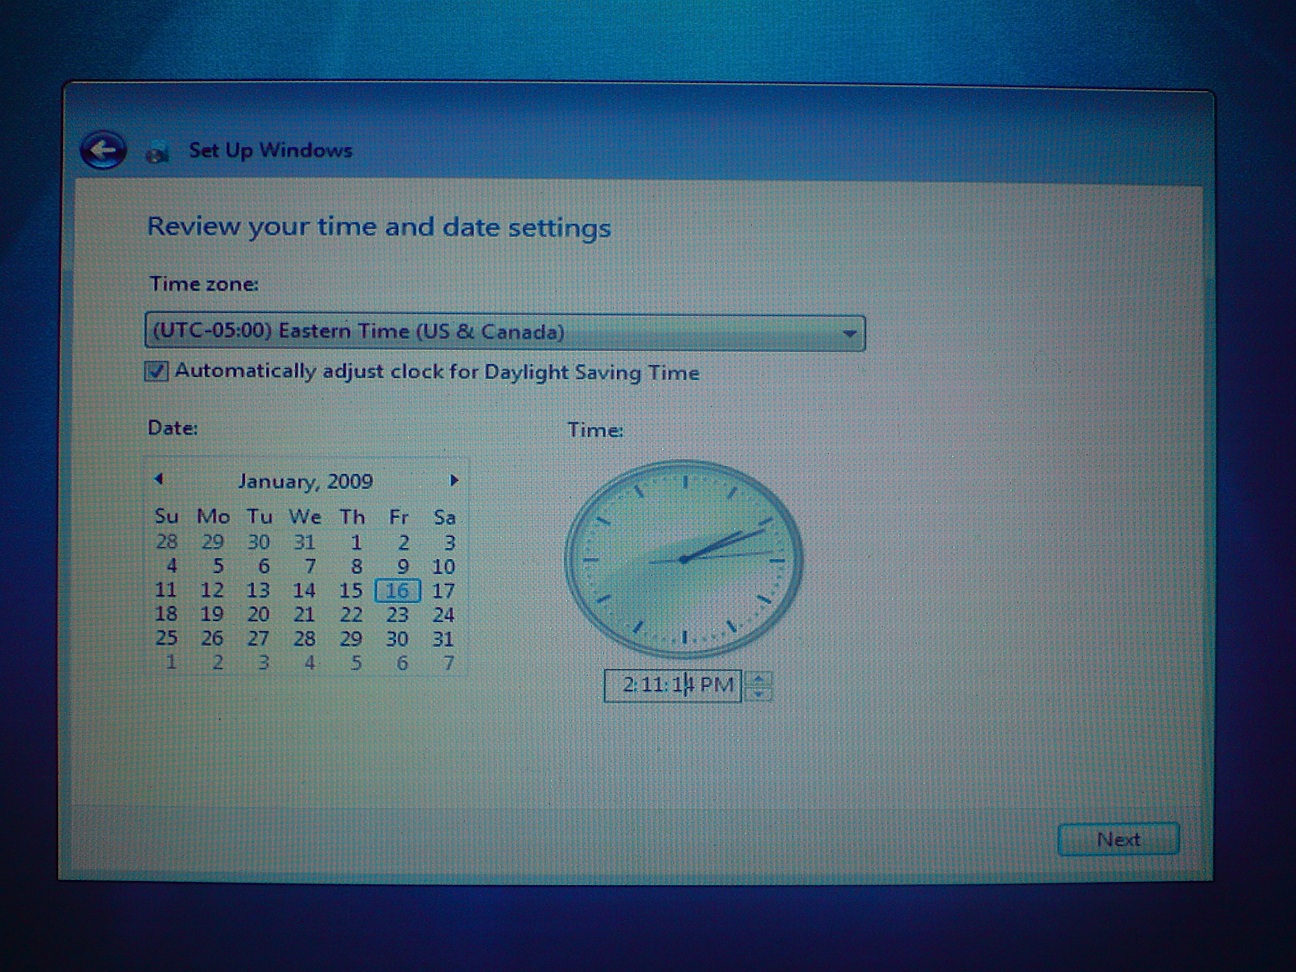
Incorrect date and time settings can interfere with Windows Update:

  • Select Start > Settings > Time & language.
  • From the left-hand menu, select Date & time.
  • Enable Set time automatically and If needed, click Sync now under Synchronize your clock.

Step 7. Update third-party drivers

If you've added hardware to your device, check for third-party driver updates and installation instructions on the hardware manufacturer’s website. Update any drivers, then try to run updates again and see if this resolved your issue. If it didn't, continue to the next tip.


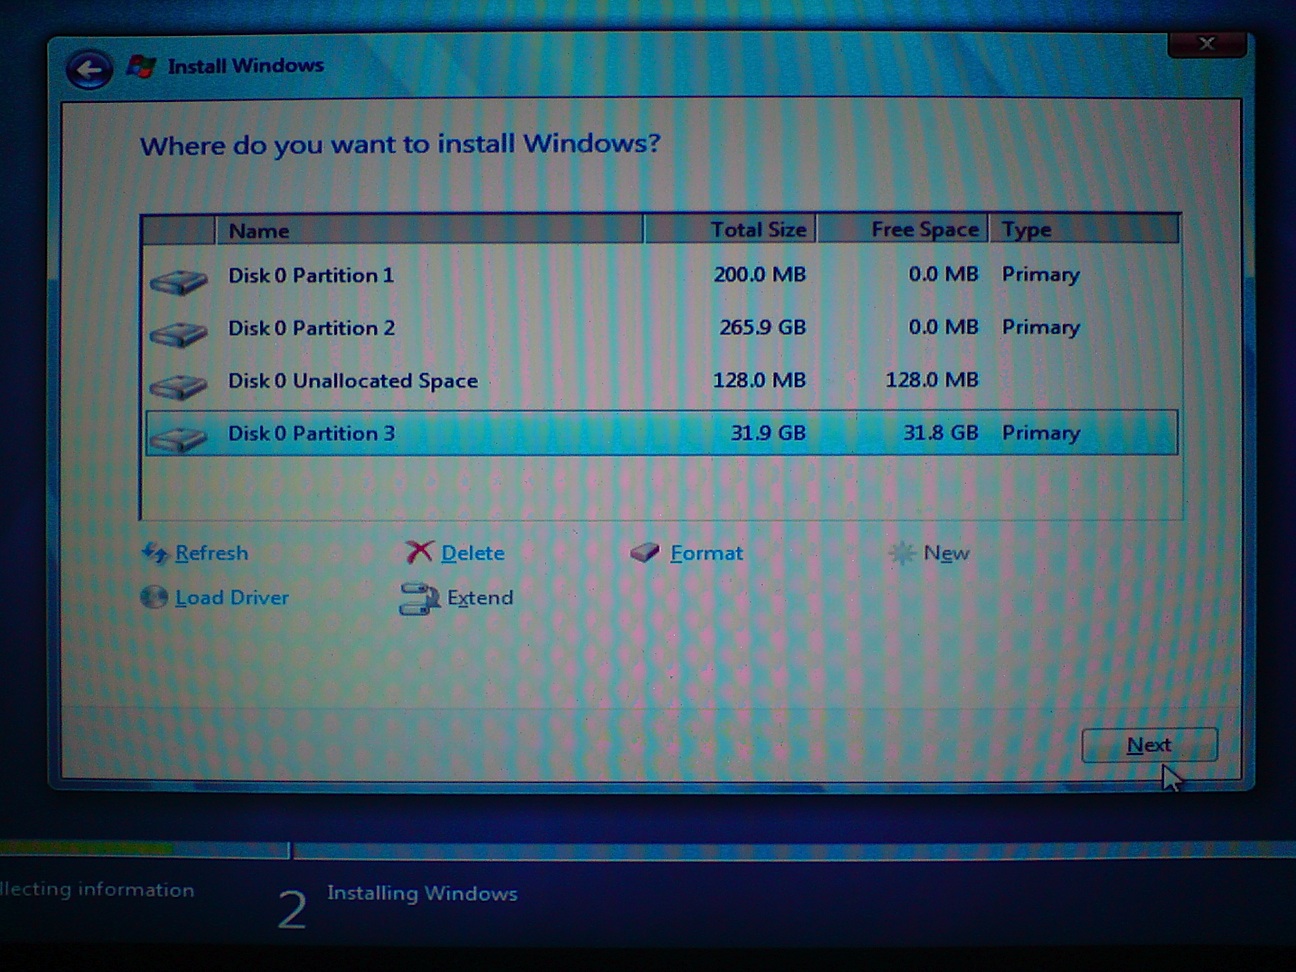
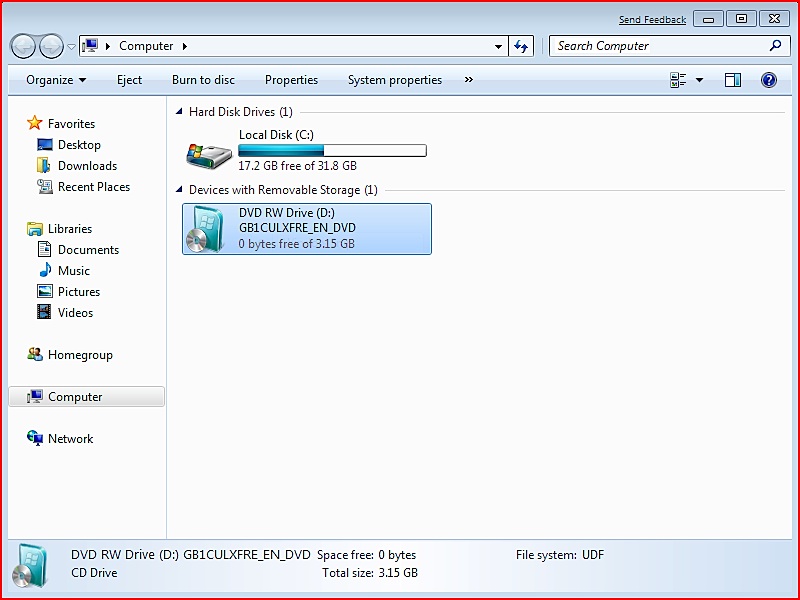
Step 8. Free up some space so you can run updates

Make sure that your device has enough space: Your device requires at least 16 GB of free space to upgrade a 32-bit OS, or 20 GB for a 64-bit OS. If your device has a small hard drive, you may need to insert a USB drive to update it.

If your PC is running low on storage, try the techniques at Free up drive space in Windows.


Step 9. Run Windows Update again

Even if you have downloaded some updates, there may be more available. After trying the preceding steps, run Windows Update again by selecting Start > Settings > Update & Security > Windows Update > Check for updates. Download and install any new updates.


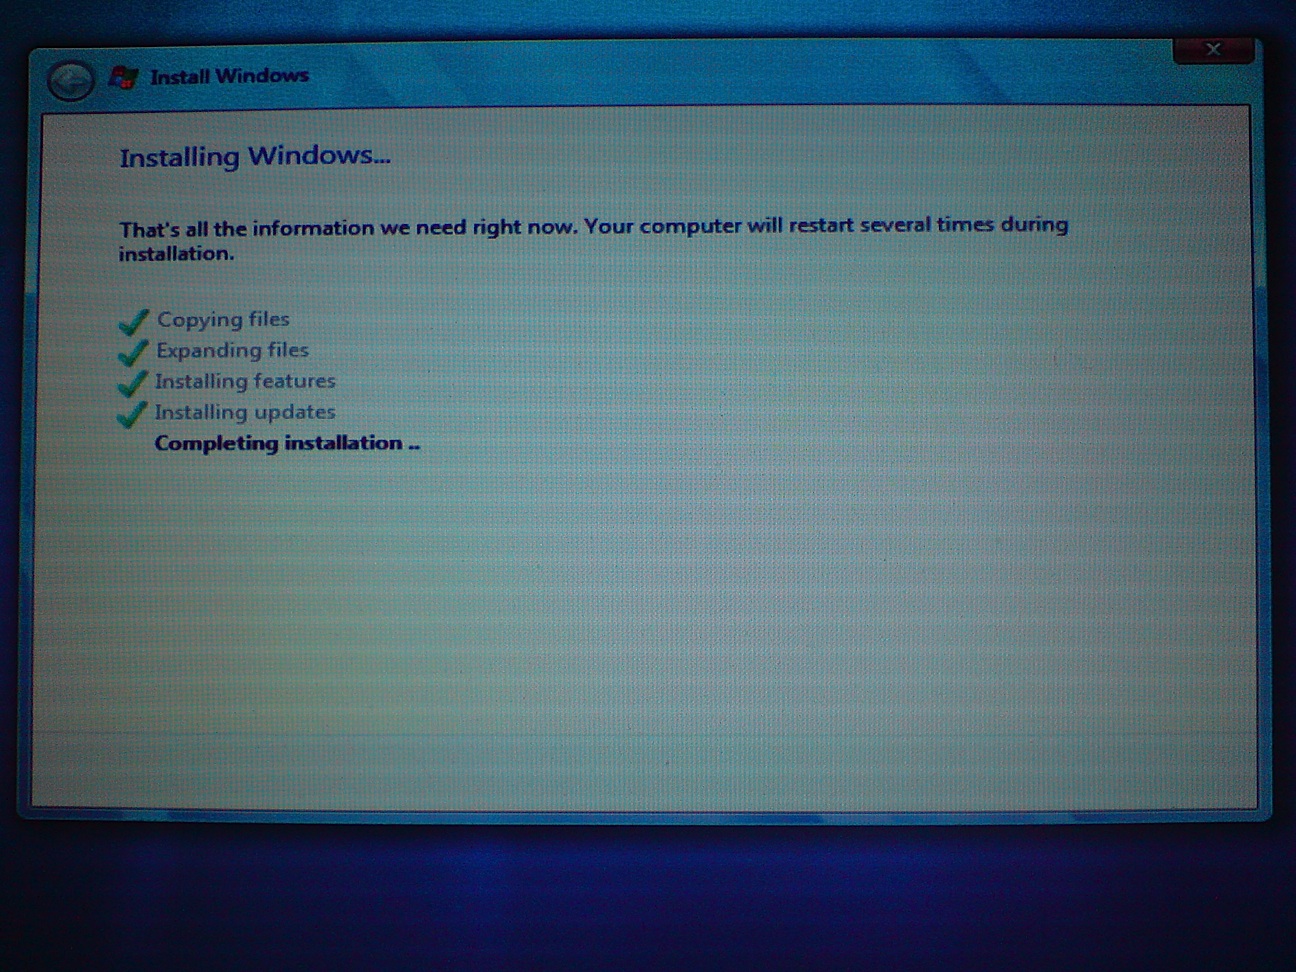
Step 10. Restart to apply installed updates

Many updates require you to restart your device. Save your work and close all open applications. Then, select Start > Power , and select either Update and restart


Thursday, December 1, 2011

How to create a bootable Windows 7 USB flash drive

The USB flash drive has replaced the floppy disk drive as the best storage medium for transferring files, but it also has its uses as a replacement for CDs and DVDs. USB drives tend to be higher in capacity than disc media, but since they are more expensive, they cannot (yet) really be used as a replacement. There are reasons why you would, however, choose a USB device over a DVD disc, and bootable software is definitely one of them. Not only is it faster to copy data such as setup files from a USB drive, but during usage the access times are also significantly faster. Therefore, installing something like Windows 7 will work that much faster from a USB drive than from a DVD (and of course, is particularly useful for the PCs without an optical drive; this isn't something we should just leave for the pirates to enjoy).
This guide will show you two different ways to create a USB flash drive that works just like a Windows 7 DVD. In order to follow this guide, you'll need a USB flash drive with at least 4GB of free space and a copy of the Windows 7 installation disc.

Windows 7 USB DVD Download Tool

You are normally given this tool when you purchase from the online Microsoft Store.windows_7_usb_1.png
The easiest way to turn a USB flash drive into a bootable Windows 7 installer is by using the tool Microsoft offers, cunningly named the Windows 7 USB/DVD Download Tool. To get started, download the installer [exe] from Microsoft.com and follow the basic steps to put it onto your computer; you can put it on the computer you plan to install Windows 7 on or another one, it doesn't matter.
windows_7_usb_2.png
Once it is installed, it should create an icon on your desktop, so double-click that to open. If you can't find it, use the search function in the Start Menu with a keyword like "USB." Launching it should give you the above screen, and step one is to find the Windows 7 .ISO file. The tool only accepts .ISO images, so we recommend that you convert yours if it's in a different DVD image format.
windows_7_usb_3.png
Step two is straightforward: simply choose USB device.
windows_7_usb_4.png
In step three, all you have to do is make sure that you are choosing the correct USB device. If you have other data on the device, move it to your hard drive, another USB device, or somewhere else before proceeding.
windows_7_usb_5.png
The tool will prompt you if it detects data on the device. Once your data is backed up elsewhere, click Erase USB Device.
windows_7_usb_6.png
You will get another prompt warning you that all the data will be wiped. Click Yes to continue.
windows_7_usb_7.png
The format will be very quick, while the copying of the files will take a little bit more time (about 10 to 15 minutes).
windows_7_usb_8.png
Once the process is complete, you should get the above confirmation message. At this point you can close the tool and use the USB drive to install Windows 7. Remember that you'll have to choose to boot off the USB drive. Before doing so, you may want to open up the USB drive and double click on setup.exe to see if everything looks okay. If you want to be able to do this manually, see the next section, and if you want to be able to install any edition of Windows 7, skip to the section after that.

Manual Creation

windows_7_usb_10.png
Maybe you don't like that Microsoft violated the GPL with the first version of the above tool (the company has since GPLed the code), or you're old-school and just love using the command prompt. Regardless of what your reasons are for creating a bootable Windows 7 USB drive manually, we have the scoop on how to do it. First, open the command prompt (if you use UAC make sure to right click it and choose "Run as administrator"), type "diskpart" without the quotes, and hit enter. You can also get here by simply typing "diskpart" without the quotes into the Start Menu and hitting enter.
windows_7_usb_11.png
Now type "list disk" without the quotes and hit enter. Take a look at the Size column and figure out which disk number your USB drive is. Ours is number 1, so we're going to type "select disk 1" without the quotes and hit enter. Now we're going to wipe it by typing "clean" without the quotes and hitting enter (make sure to do a backup of the contents if you haven't already).
windows_7_usb_12.png
At this point we want to prepare the USB drive for the files and make sure it is bootable. Type "create partition primary" without the quotes and hit enter. Then type "select partition 1" without the quotes and hit enter. Next type "active" without the quotes and hit enter. Finally, type "format fs=fat32" without quotes and hit enter (if you choose to use ntfs, you'll later have to run the "Bootsect.exe /nt60 G:" command to put boot manager compatible files onto your USB flash drive to make it a bootable device). This one will take a while, so go grab a snack, we'll wait. When that's done, type "assign" without the quotes and hit enter (this will assign a new drive letter to the USB flash drive).
windows_7_usb_13.png
An AutoPlay window like the one above will appear. Remember the drive letter (in our case it is H:\), close the window, type "exit" without the quotes and hit enter. If you are working with an .ISO image, the best way to do this last part is to mount the file with a program like Virtual Clone Drive. Alternatively, you can extract the files from the .ISO image and simply copy them to the USB drive, but since we've been using the command prompt up to this point, we'll show you how to do the last step with it as well.
windows_7_usb_14.png
If you don't have the command prompt open, open it with administrative privileges, type "xcopy f:*.* /s/e/f hg:" without the quotes and hit enter. Note that you will likely have to replace "f:" with the drive letter for your Windows 7 DVD and "g:" with the drive letter for your USB flash drive. Don't worry if install.wim takes a while to copy: it's easily the biggest file on the disc.

Bonus: install any edition of Windows 7

windows_7_usb_14.png
This is a completely optional step and you only want to do this if you want to be able to choose which edition of Windows 7 to install. In the command prompt, type "del g:\sources\ei.cfg" without the quotes and hit enter (where g:\ is your USB flash drive).
windows_7_usb_15.png
This will make sure that your Windows 7 installer no longer has a specific version of Windows 7 set as the default, and you will be prompted to choose the version you want to install. Remember that while this gives you a more universal Windows 7 installer, you still need to make sure you are choosing the edition that you own, or you will not be able to activate Windows 7 with the key you have obtained.

Saturday, November 12, 2011

Max memory limits for 64-bit Windows 7

Summary: While the maximum RAM limit for 32-bit Windows 7 editions is 4GB, when it comes to 64-bit editions, the amount of memory that the OS can address depends on which edition you are running.
While the maximum RAM limit for 32-bit Windows 7 editions is 4GB, when it comes to the 64-bit editions, the amount of memory that the OS can address depends on which edition you are running.
Here are the upper RAM limits for the different editions of Windows 7:
  • Starter: 8GB
  • Home Basic: 8GB
  • Home Premium: 16GB
  • Professional: 192GB
  • Enterprise: 192GB
  • Ultimate: 192GB
These limits are similar to those for Vista editions, expect that Vista Enterprise and Vista Ultimate have had their upper limits raised from 128GB to 192GB.
The one to look out for there is the 16GB limit on Home Premium. If you’re building a Core i7 system then it’s quite easy (if you have the cash!) to exceed this limit. As long as you’re aware of the limit and plan your OS accordingly you’ll be OK.

Friday, November 4, 2011

GPS Sony NV-U50 / 70


My friend bought this Sony NV-U50 4 years ago and week ago he told me that sorry he cant use it anymore, because GPS maps are too old (2006). So i told him no problem just lets update maps (fail), if you go to sony support site then you feel really soon that you may be visiting some kind of tech museum.

Sony dont like to play or support these toys anymore! I have googled for over hundred blogs and forums to find any information about updates or even language files, but no you cant do it right way anymore.

But the good thing with that sony and with some Mio moov devises are that they run Win CE or Windows mobile so you can modify it on your on way. For example you can buy really cheap old sony or new/expired Mio moov for 40$ - 100$ usually users selle them for cheap, because they dont know what to do with them or new ones on market sales. After few hours of study any "smart pen" can figure out, that if you run windows on GPS or any device, then you can just install some other programs like: Tomtom, iGO, Sygis, Route 66, Garmin etc.

So lets start with TomTom

1) Install showtaskbar in the GPS.
This will allow existing Windows CE Initiate the GPS rather than the application of sony.
Conectais feeding the GPS and the computer with Activesync installed. Once recognized and sync your GPS, accedeis to it from My Computer and going to the \ Mounted Volume \ Sony \ nav-u \ and pegais the showtaskbar.exe.
Arcivo Renombrais the nav-nav-u.exe to showtaskbar.exe u2.exe and call him as the first: nav-u.exe.
Download showtaskbar .
2) Installation of TomTom v.6.021 or better.
Unzip the downloaded file and copy the folder as is (tomtom) to the GPS path \ Mounted Volume \.
After you copy all the tomtom folder go to your Windows CE menu and locate to TomTom folder and create a shortcut to the executable TomTom Navigator.exe, cut this shortcut and paste it into the Windows Desktop folder (\ Windows \ Desktop) in your Win CE. This will put a shortcut on the desktop to TomTom Windows Ce of our GPS.
TomTom v.6.021 download from the TomTom website payment or use a "demo".
3) Modify the Windows CE registry.
To recognize the TomTom maps you are going to install is needed to modify the registry, because the program looks for maps in the My Documents folder, put we placed them in Mounted Volume \.
This install the program Registry Workshop on the PC, run it, here are a Try It (trial version), go to the File menu (File) and click on Connect Mobile Device Registry.
We see the log of the GPS, we go to HKEY_LOCAL_MACHINE \ Explorer \ Shell Folders, look for the right record to My Documents, open it and replace where it says \ My Documents to \ Mounted Volume.
Additionally you can copy into \ Mounted Volume \ Editor automatic registration (copies the file downloaded tomtom2.cab as read-only) that will edit if recidivism automatically by the browser software.
4) Install tomtom maps and radars.
Are downloaded maps (maps of Spain and Portugal) and copy the unzipped folder directly (ES_and_PT_plus_major_roads_of_WE 1409) to the \ Mounted Volume \.
The radar signals are copied and decompressed once inside the maps folder, ie \ Mounted Volume \ ES_and_PT_plus_major_roads_of_WE 1409 \.
Possibly do not be room for all if this happens you can go to the folder \ Mounted Volume \ Sony \ and delete the previous map browser, is a file called Spain_MIKA.map.
Download Maps (ES_and_PT_plus_major_roads_of_WE 1409) as Dige from the Tomtom website payment or a "demo".
Download DPI'S and radar pdis.es
5) Setup TomTom GPS antenna.
Let the TOMTOM menu, change preferences, Show GPS Status and Setup:
1 Âş Select the GPS receiver, select the option Other NMEA GPS and press select
2 Âş GPS transfer rate: 9600 and we made it
3 Âş GPS connected to: select Serial COM for GPS and automatically returns to the display of the GPS.
Once completed you will see how searches for satellites and connects.
And we have our Sony Ready Gps running with TomTom.

Another really nice GPS appligation is iGO


I googled for iGO8 "demo" from internet and found nice package for Win CE and for Windows Mobile.
I placed it to \Mounted Volume\iGO8\ and found another cool tool U50 Unlock.rar that can unlock your NV-U50 and copied it to \Mounted Volume\Sony\nav-u\ after restart of device it started iGO automatically from \Mounted Volume\iGO8\iGO8.exe now that old Sony NV-U50 looks like new :)

Thursday, October 20, 2011

Bootcamp | How to Install Windows 7 on Your Mac Using Boot Camp

These are instructions on how to install Windows 7 (32 bit or 64 bit) on your Mac using Boot Camp.

Before you begin this tutorial you will need the following:
Windows 7 Installation DVD
- Mac OS X Installation DVD or Boot Camp 2.1 on CD/DVD

Step One
Open a new Finder window by clicking the Finder icon in your dock.


Step Two
Click Applications from the list of places on the left.


Step Three
Double click the Utilities folder to access your utility applications.


Step Four
Double click the Boot Camp icon to launch the application.


Step Five
The Boot Camp Assistant will open. Click the Continue button.


Step Six
You will now be asked to Create a Partition for Windows. You can drag the divider to set the size of the partitions. Windows 7 needs about 10 GB at very minimum. If you plan to install applications make sure you allow extra space for them. I clicked the Use 32 GB button to assign 32 GB to my Windows 7 partition. When satisfied with the size of your partition click the Partition button.


Boot Camp will now partition your hard disk...


Step Seven
Once your disk has been partitioned you are ready to start the Windows installation. Insert your Windows 7 Installation DVD and click the Start Installation button.


Step Eight
Your computer will now reboot and launch the Windows 7 Setup. Select your language, Time and currency format, and Keyboard or input method from the dropdown boxes, then click the Next button.


Step Nine
Click the Install now button.


Step Ten
Please read the license terms then check the box to accept the license terms. Click the Next button to continue.


Step Eleven
Click to select the Custom (advanced) method of installation.


Step Twelve
Click to select the Disk Partition labeled BOOTCAMP then click the Drive options (advanced) link below.


A few different drive options will appear. Making sure the BOOTCAMP partition is highlighted click the Formatlink.


A popup window will appear warning you that any data stored on the partition will be lost. Click the OK button.


Once the drive has finished formatting you can click the Next button to continue.


Step Thirteen
Windows 7 will now begin copying and expanding files. This may take some time. After all the files have been copied and expanded your computer will reboot.


Windows 7 will now complete the installation.


Your computer will then be restarted again.


Step Fourteen
You will then be asked to choose a username for your account and name your computer to distinguish it on the network. Please do this then click the Next button to continue.


Step Fifteen
You will then be asked to set a password to use when you log on to your computer. Type in your desired password, retype it to confirm, and enter a hint to be used if you forget the password. Click the Next button to continue.


Step Sixteen
Windows 7 Setup will now ask for your product key. Input the key then click the Next button to continue.


Step Eighteen
Windows will now ask you to select your preference in regards to its updates, security, and online assistance. Select Use recommended settings unless you are an advanced user and understand how to manage the system on your own.


Step Nineteen
Review your time and date settings to make sure they are correct, then click the Next button to continue.


Step Twenty
You will be asked to join a wireless network. Select your wireless network from the list that appears then click theNext button. If you do not wish to set up a wireless network you may click the Skip button.


Step Twenty One
Windows 7 Setup will ask you to select your computer's current location. Click the appropriate option.


Step Twenty Two
Since I select Home in the previous step, Windows asks if I would like to create a homegroup. A homegroup links computers on your home network so that you can share devices and files. Click the Next button if you would like to create a homegroup; otherwise, click the Skip button.


Step Twenty Three
Windows 7 will now open to the Desktop.


Click on the Windows button at the bottom left then click Computer. Select your DVD drive from the visible devices then click the Eject button in the toolbar.


Step Twenty Four
Insert your Mac OS X Installation DVD and run the setup.exe file.


Note*: If you have installed the 64 bit version of Windows 7 then insert and run a DVD that contains BootCamp 2.1 for Windows Vista 64 bit (BCUpdateVista64.exe).

Step Twenty Five
The Boot Camp Installer will appear to guide you through the steps necessary to install Boot Camp. Click theNext button to get started.


Step Twenty Six
Read the license agreement, select I accept the terms in the license agreement, then click the Next button to continue.


Step Twenty Seven
Choose whether you would like to install Apple Software Update for Windows then click the Install button.


Step Twenty Eight
Boot Camp will proceed to install the drivers necessary for your Mac to work properly with Windows.


When the installation has completed click the Finish button.


You will then be prompted to restart your system for the configuration changes to take effect. Click the Yesbutton.


Step Twenty Nine
Once your system has restarted you will have successfully installed Windows 7 on your Mac using Boot Camp.

Notice that now your screen resolution will have improved and you should have all your drivers working properly!


NOTES*: We installed Windows 7 on a late 2008 MacBook Pro. We had no difficulties with drivers of any sort. If there are any specific models of Macs that do need additional drivers please let us know in the comments and we will update the notes to contain links to these drivers. Thanks.